Pond Wordpress Documentation
Thanks
First of all, a big thanks for purchasing this theme. This document includes a guide and general information about the theme. Feel free to contact me if you have any questions that are beyond the scope of this document.
Support
Please read the documentation and take a look at the FAQ before seeking support. If you have any questions that are beyond the scope of this document you can still contact me by using the contact form on the themeforest profil page SpabRice.
Please do not use the comment section on the themeforest item page. This will slow down your support.
Important: Theme support does not include any sort of customizations for you or your client.
Video Tutorials
COMMING SOON
Take a look at the video tutorials.
Installation
This theme requires the latest Wordpress version (4.1 and later).
There are 2 different ways to upload the theme.
- FTP: Unpack the pond.zip and upload the unpacked folder into the wp-content/themes/ folder
- WordPress: Login into WordPress and go to Appearance > Add New Themes > Upload. Select the zipped theme file pond.zip and click Install Now.
Once you have uploaded the theme you need to activate it. Go to Appearance > Themes and you should see the new Theme. Click Activate.
Required Plugins
After installing and activating the theme you probably will notice a message in the top of your dashboard with required/recommended plugins.
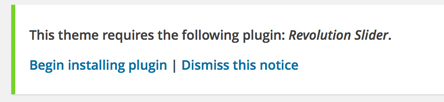
Install these plugins.
Video TutorialImport Demo
Before uploading the demo you need to know that wordpress create a sample page and a sample post when installing wordpress. You can delete them.
You can import the demo content with just one click. Go to Appearance > Theme Options > Import Demo. Choose a demo and click on the image to import. The importing action can take some seconds. That's it.
This will import pages,posts,portfolio,menu,images,theme options,wordpress-settings, etc.
Note: It doesn't import the slider. Go to Revolution Slider and import the slider which belongs to the demo you just imported. (demo-one = pond-slider-one.zip)
You will find the sliders in the slider-demo folder.
Demo 1 / Demo 2 (one page)
If you imported a one page demo (Demo 1 or Demo 2) go to Appearance > Menus and change the "Go To" option to "section" for all pages which should be included in the Front Page (Home,About,Services,Works,Contact). Please take also a look at Setting Up Your Menu.
Demo 3 / Demo 4 (multipage)
If you imported a multipage demo (Demo 3 or Demo 4) go to Appearance > Menus and change the "Go To" option to "Page" for all pages. Please take also a look at Setting Up Your Menu.
Video TutorialOne Page Feature
If you imported a demo, please browse to Setting Up Your Menu.
If you want to start from scratch without importing any demo content please follow these steps.
Create Pages
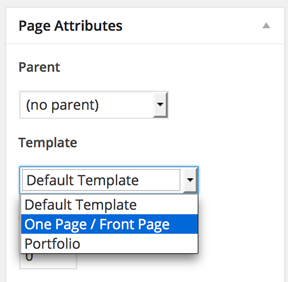
Go to Pages and create your pages (at least 2 for the beginning). Call one of these pages "Home" or something related and choose the template "One Page / Front Page". By choosing this template, this page will include all different one page section which you can choose in the menu settings.
This will be the "start page" with a slider in most cases.
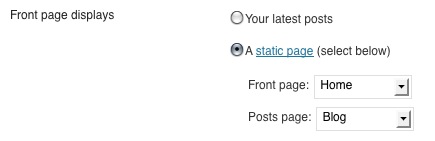
Call the second page "Blog" and leave the default template. After you added the pages go to Settings > Reading and change the Front page displays to "A static page". Choose then the "Home" as Front Page and the "Blog" as Posts page.
Set up your Menu now and go through the theme options to add logo, and all different settings.
Take also a look at some infos & tips for the Page / Section settings
Setting Up Your Menu
- Go To Apperance > Menu
- Create A New Menu by clicking on create a new menu
- Add your menu items by selecting them on the left side (starting with "Home")
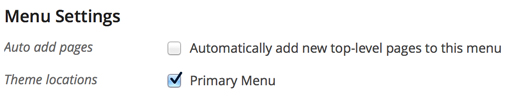
- Choose "Primary Menu" as location
How to choose which page is displayed as a Section for the one page feature
You can choose if the Menu item will scroll to a "Section" or will lead to a "Page". This means, if you choose "Section", this page will be included in the front page and the Menu item will scroll to this section (onepage effect). In the other hand, "Pages" will lead to a separated page witout scrolling (refresh page).
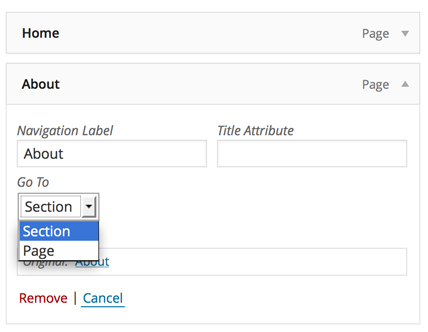
If you have imported a one page demo, make sure that you choose "Section" for the 'Go To' option for all pages you want to include as a section in the front page (Home,About,Services,Works,Contact).
The Blog page should be "Page"
Video TutorialPage / Section
You will find some settings while creating the pages below the editor.
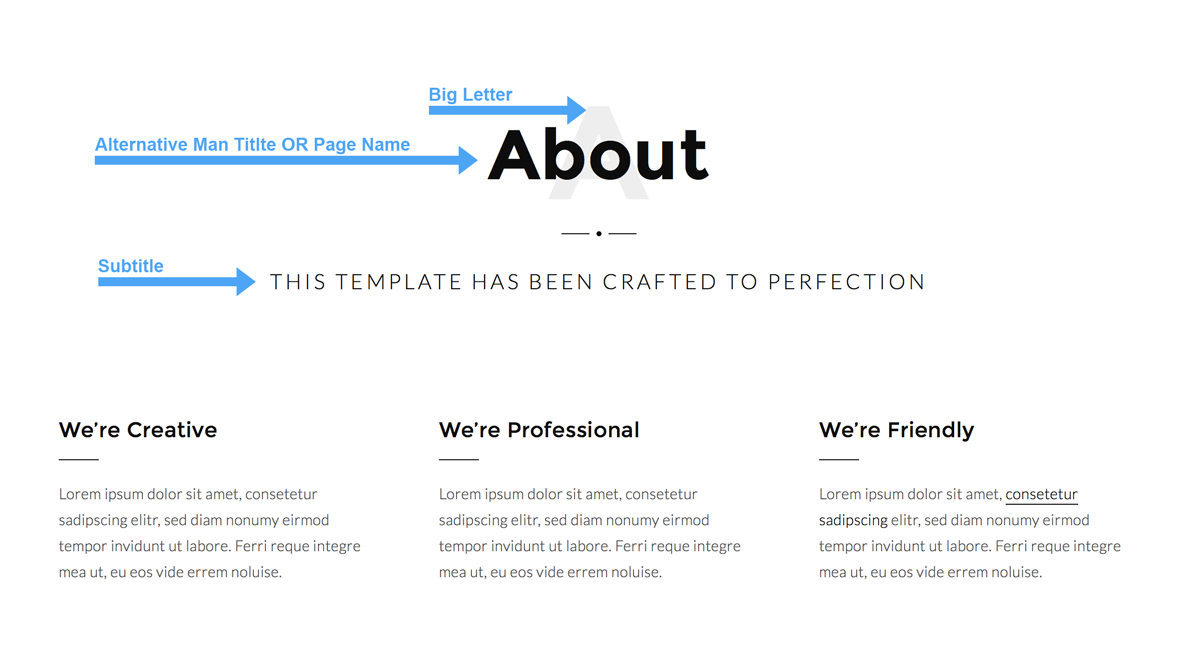
Title / Subtitle
Padding
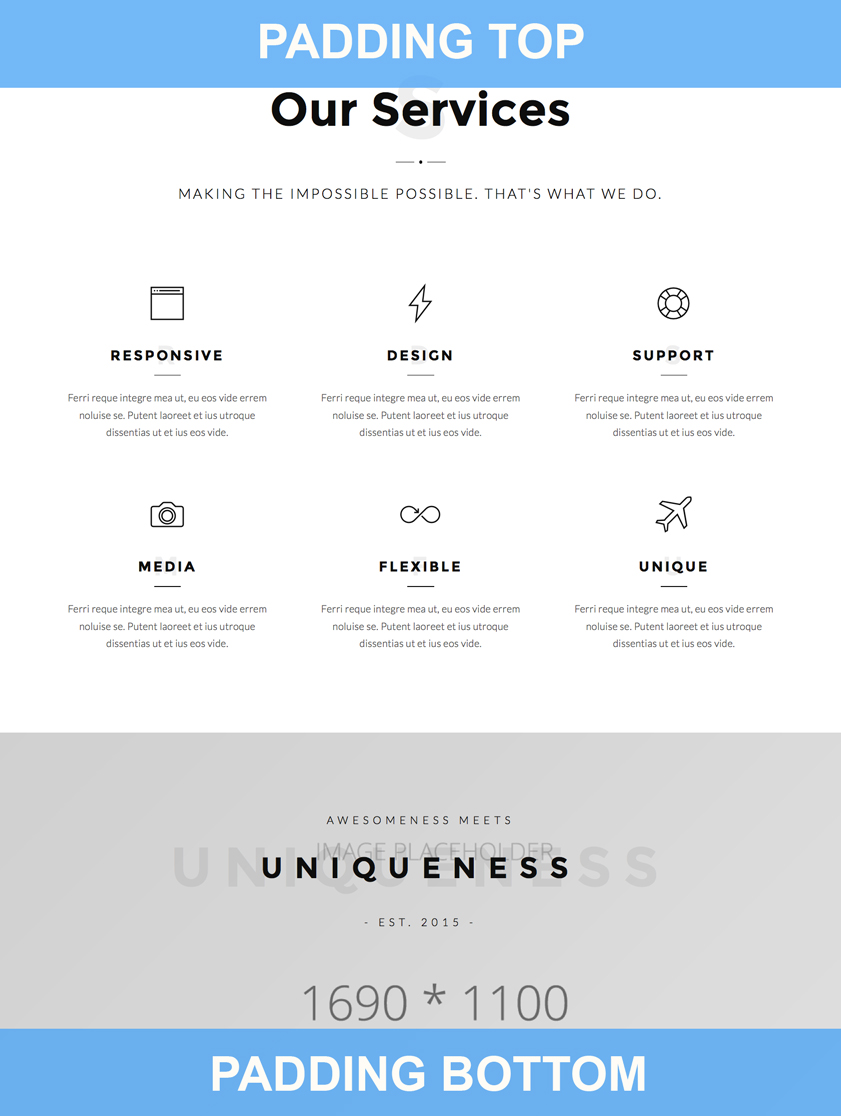
In this example above a would set padding top to "yes" and the padding bottom to "no".
Padding Tips
I generally use a top padding for the sections which doesn't start some background element. Same for padding bottom, I use a bottom padding if the last element of this section is not an element with some background.
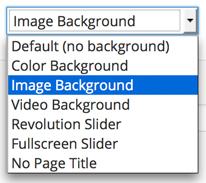
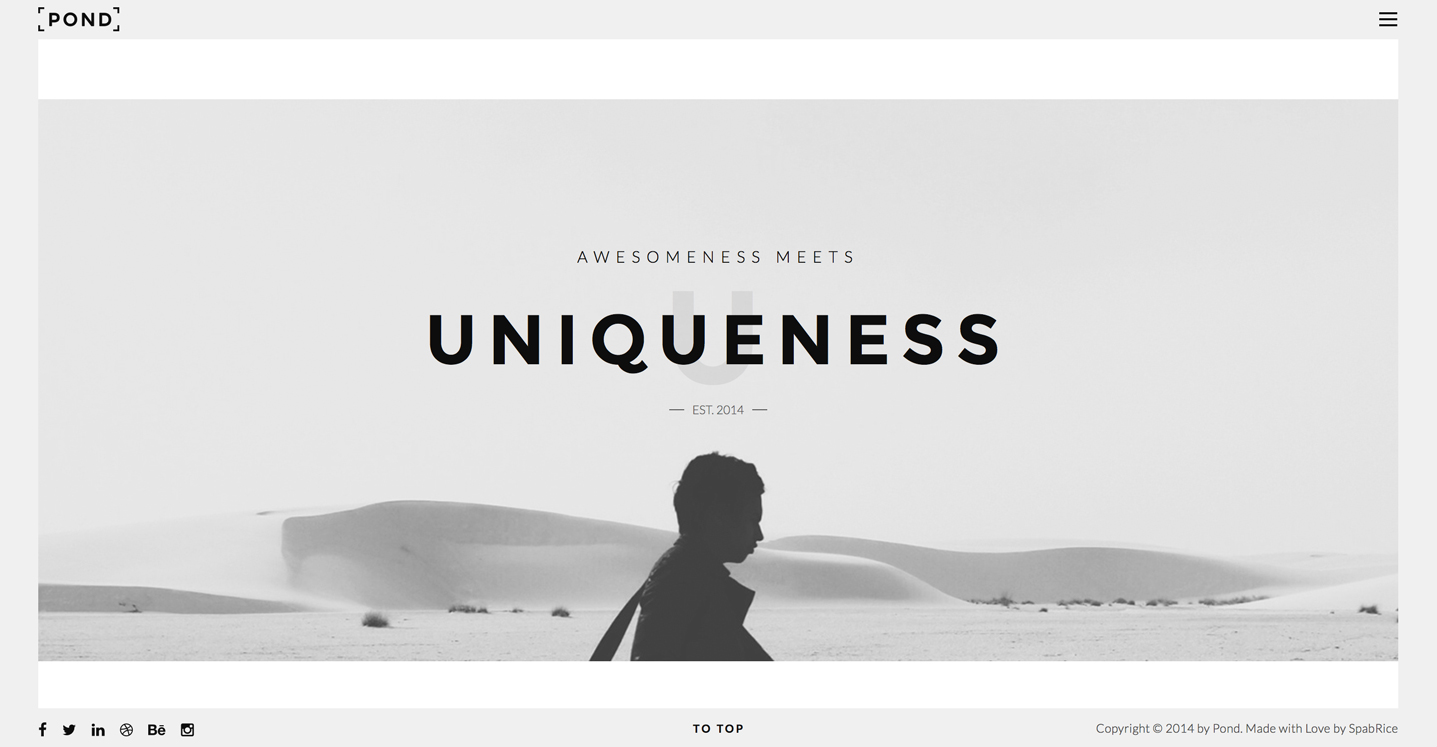
Page Title / Hero
You have the possibility to choose between different Page Titles
Only for Separated page
These settings will only apply if the page is a seperated page (which is not included in the front page (one page)), or if you choosed the "One Page / Front Page" template.
Header / Footer
Set up the Header / Footer settings individually for each page/post/portfolio project.
You can choose your Logos (light/dark) in the Theme Options. Additionally you also will find some Footer options in the theme options.
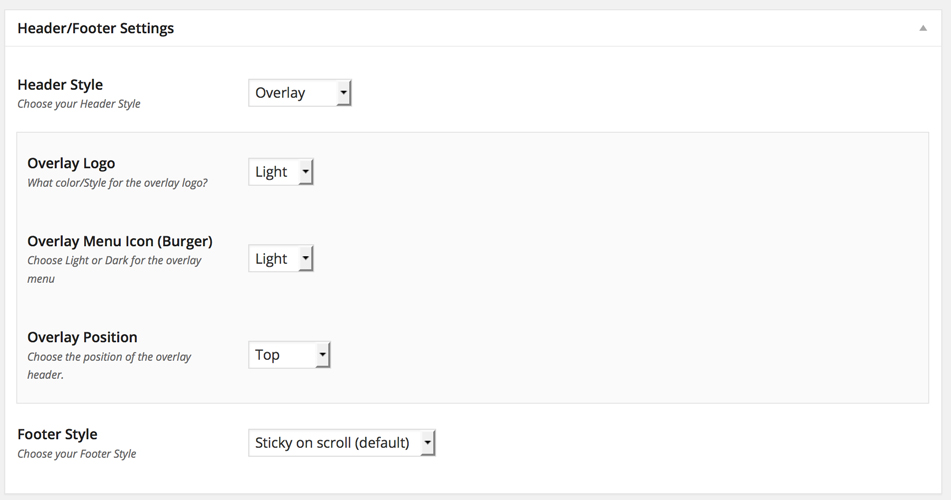
Only for Separated page
Same as the page title options, the header/footer settings will only apply if the page is a seperated page (which is not included in the front page (one page)), or if you choosed the "One Page / Front Page" template.
Pagebuilder
This theme uses a page builder to handle it's content. There are 4 different elements than can be added.
1. Horizontal Section
A horizontalsection is a fullwidth section which have a background (color,image,video) to seperate some specific content from default content.
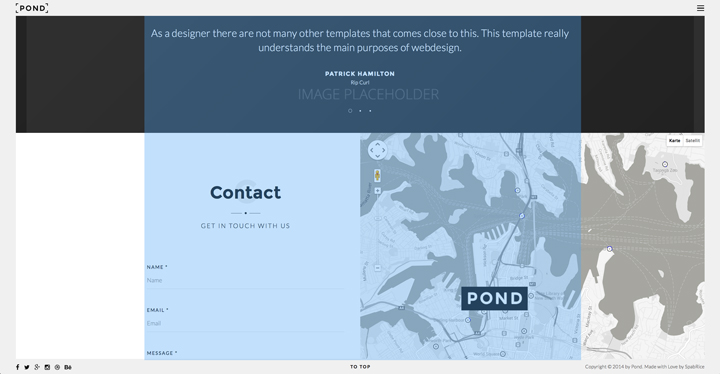
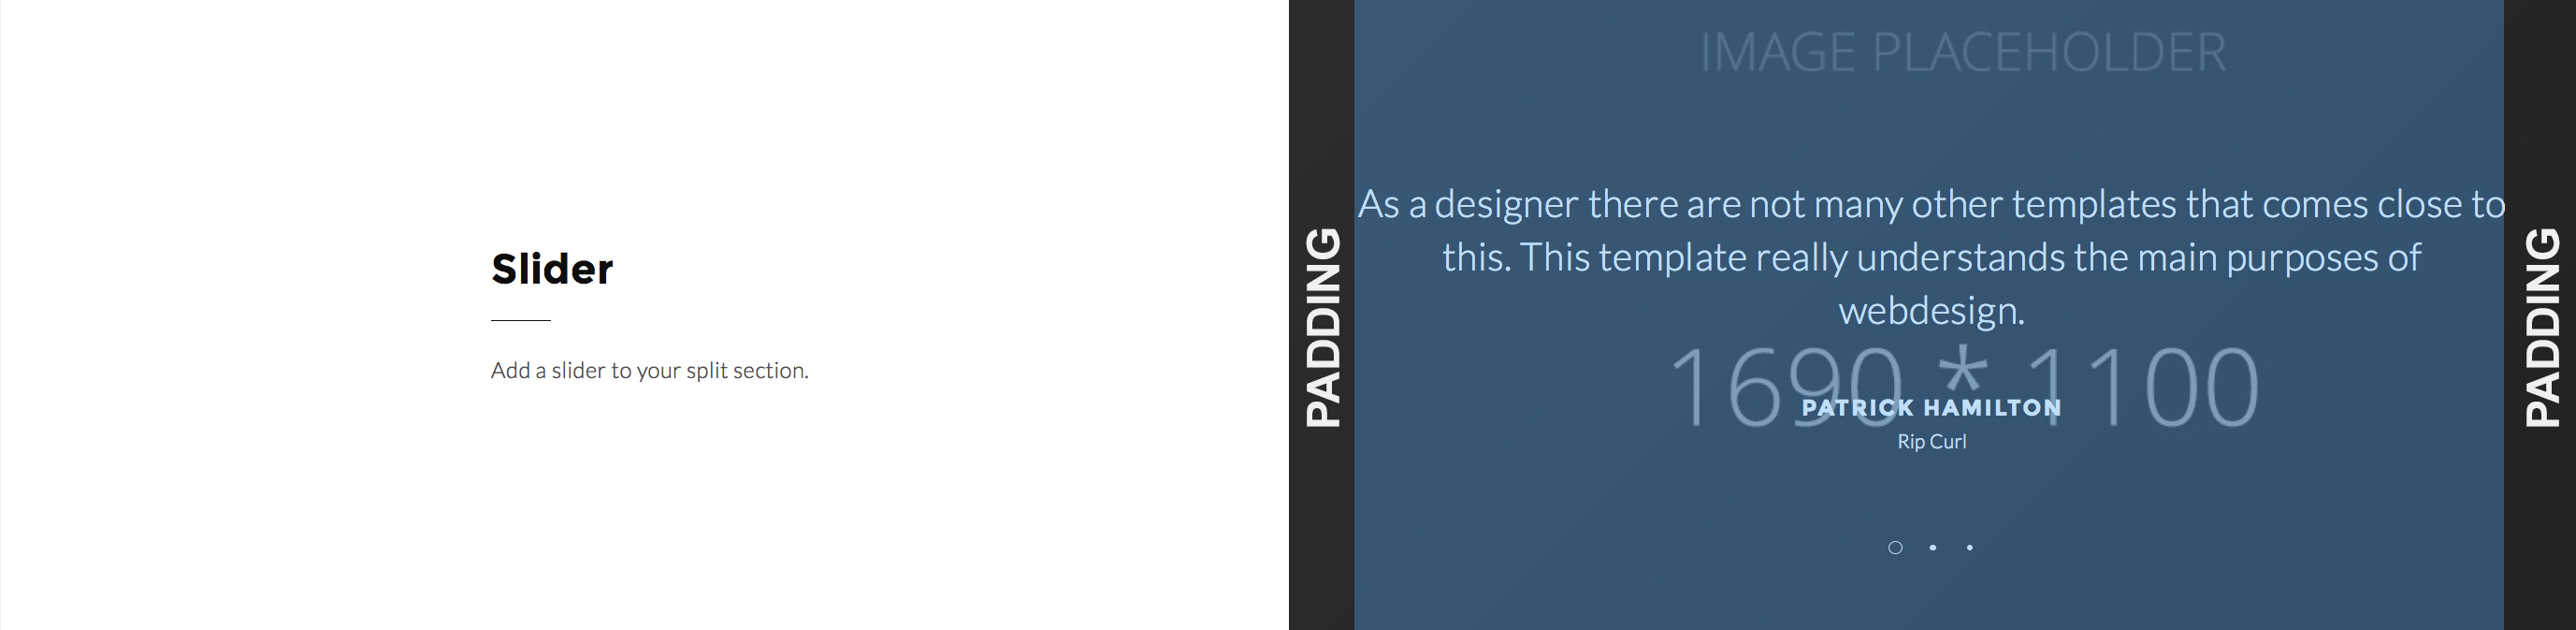
2. Split Section
It's similar to the horizontal section but a split section is splitted into 2 sides (left/right). You can choose any type of background or content for both sides.

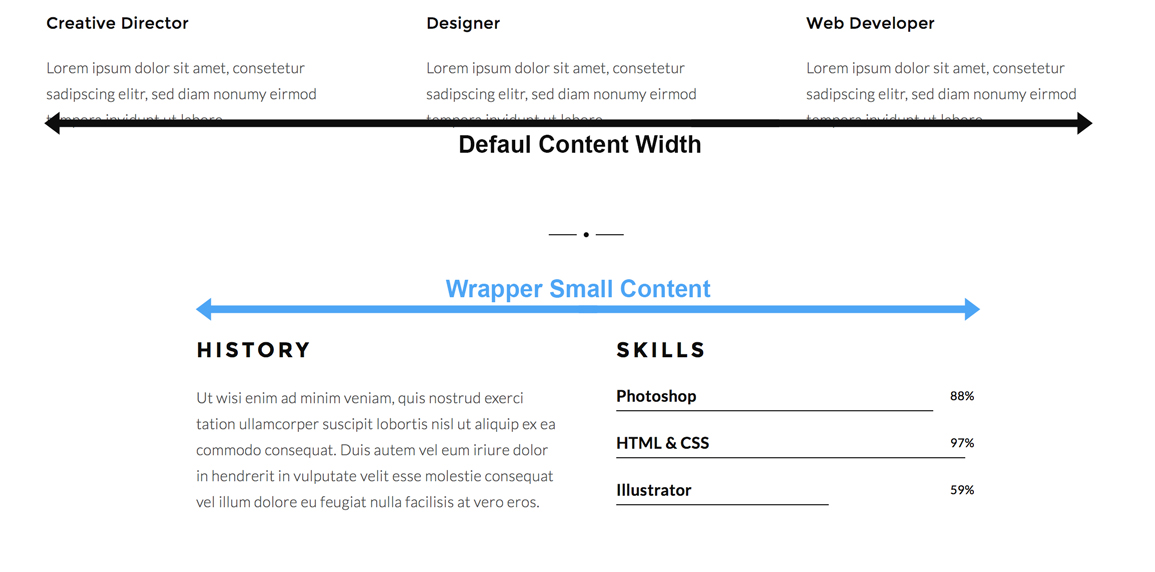
If you're planning to add any type of content (text;button,gallery,slider,etc.) you need to choose between 4 different content sizes.
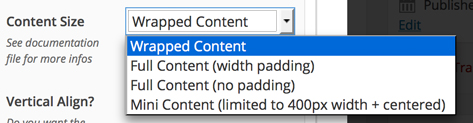
Wrapped Content
This will respect the main wrapped content and won't pass over this limit. (1080px = default / 900px for smaller screens / 730px for tablet)
Full content (with padding)
This will take the full available width of the side but with a padding left + right.
Full content (no padding)
It will use the full available width of the side. Good if you want to place a gallery or a embedded video for example.
Mini Content
Use the mini content if you want to limit the width of the content.
It won't use the full width available but is still centered.
It will limit the content to 400px.
3. Text / Editor
A blank content area with no background.
4. Spacer
Adds a spacing between your elements
Video TutorialTheme Options
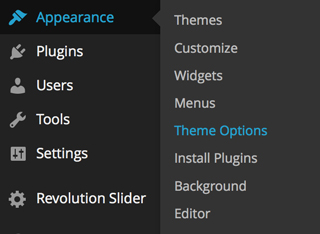
The theme uses its own Theme options panel which you can access by navigating to Appearance > Theme Options.
Please go through all Options to set up your site to the way you want it.
Adding your Logo
You can easily change your Logo using the Theme Options.
The Logo will display in the size you uploaded it. Which means if you upload a logo with a dimension of 300px height + 500px width it will display in this size. This would be of course too big so upload your logo in the size you want to show it. I always recommend not to pass 60px height but this is your choice.
- Go to Appearance > Theme Options > General
- Add your Logo by clicking on Add Image
- Choose your image on your Media Library OR upload a new image and click on Insert into Post
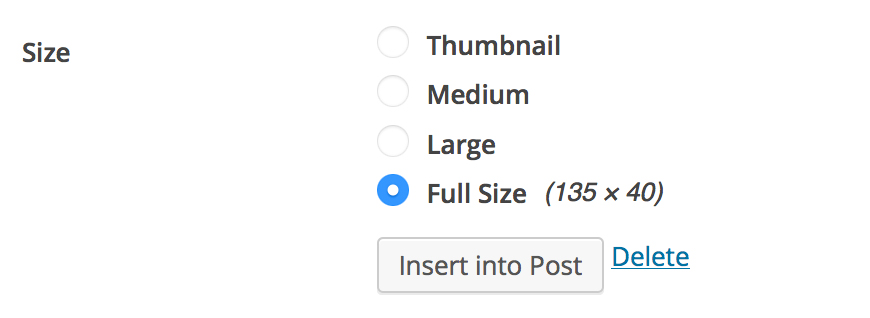
Please make sure that you've choosen Full Size.
Proceed the same way for the other Logos needed (footer,preloader,overlay logo, favicon, etc.).
Featured Images
Featured Images are very important for this Theme. You must know how to add a featured image to your posts + portfolios.
Please add a featured image to all posts and portfolios items!
- Click on Set featured image.
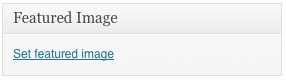
- Choose your image on your Media Library OR upload a new image and click on use as featured image.

Sizes
Due to the responsive nature of this theme, featured images are resized/cropped. See below for the default resizing values.
- Featured Images for Portfolio: The featured image for portfolio projects depends on the size you chossed in the theme options.
- Featured Images for Blog posts: The featured image for posts must be at least 780px wide.
Attention: This theme uses custom thumbnail size. All images which have been uploaded before installing the theme can't apply these new sizes. Therefore you need to regenerate the thumbnails.
Go to Plugins > Add new and search for regenerate thumbnails.
Install and activate the first Plugin (Regenerate Thumbnails by Viper007Bond).
Go now to Tools > Regen. Thumbnails and click on Regenerate All Thumbnails.
Portfolio
Before you add any Portfolio item please add a Portfolio page (if not done yet).
- Go to Page > Add New
- Enter your Title for this portfolio Page
- Choose the right template Portfolio
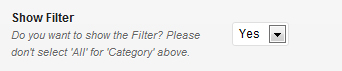
- You can choose the categories you want to show (default is All).
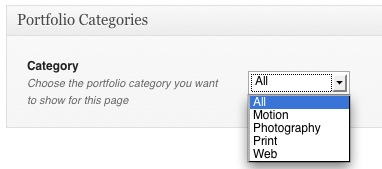
- Activate the filter if wanted. If you want to show a filter please don't select "All" for the categories and select more than 1 category.
Adding Portfolio Item
- Go to Portfolio > Add New
- Add your Featured Image --> important
- Enter your Description Text.
- Enter your Portfolio Options (see below).
- Use the Portfolio categories to filter your items.
- Assign the tags.
Note: You can add multiple image by selecting the different images by holding cmd/ctrl or shift.
Sorting: The portfolio items are automatically ordered/sorted by the publication date. You can at any time edit the publication date for all items.
Portfolio Options
You can setup your Styling for the portfolio in the theme options. Choose the items displayed, fullwidth/contentwidth, carousel, etc.
Slider
I recommend to import one of the slider. (You will find the sliders in the slider-demo folder). Install and Activate the Revolution Slider Plugin if not done yet and import the demo.
Please take also a look at the original Revolution Slider documentation.
After your Slider is ready, go to the page where you want to add this slider and select this slider.

Since Pond 2.3 the Revolution Slider has also been updated to 5.0+.
If you're happy with the old revolution slider and don't need the new features and options, it is not necesarry to update the revolution slider because by updating you need to change/adapt some settings and might recreate your layers and slides.
How to update the revolution slider
- First, make an export of your current slider!!!
- Install/Update the theme to the latest version (if not done yet)
- Deactivate and delete the revolution plugin in Plugins
- Now you should see the "required plugins" message. Install it.
- Import your slider if wanted or create a new one
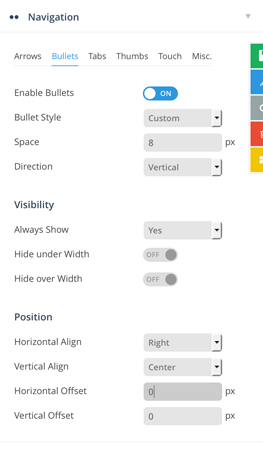
If you imported the slider you probably need to adapt the navigation settings (and others)
Here are the settings for the bullets (set arrows navigation to off).
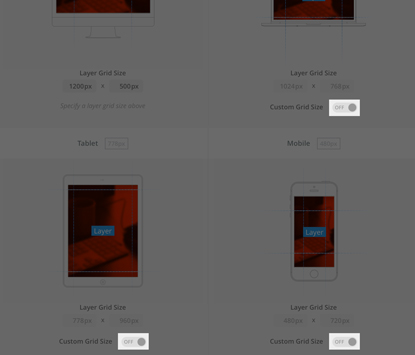
It's also recommended to also set the custom grid sizes to "off" which enabled the scaling down of the different layers.
NOTE
Although the slider is inlcuded into the theme, Themepunch has developped the slider. I won't provide detailed support about the features/options/functions of the slider plugin.
That's why it's recommended to purchase a original copy of the revolution slider plugin on codecanyon. You will have premium support from Themepunch and auto updates.
Adding Video
You can add videos for portfolio projects, blog posts or to a page using the shortcodes.
If you want to add a video into a post,portfolio or page from a video portal like vimeo or youtube, please always enter the embedded iframe code which are given.
Example:
<iframe src="http://player.vimeo.com/video/44253174" width="500" height="281" frameborder="0" webkitAllowFullScreen mozallowfullscreen allowFullScreen></iframe>
The video will always adapt to the parent container.
Lightbox video
I you add a lightbox video only use the absolute video url.
In generell the url which are in the iframe code.
Example: http://player.vimeo.com/video/44253174
44253174 is the VIMEO-ID
For youtube it would be:
https://www.youtube.com/embed/mcJTkBmchqM
mcJTkBmchqM is the YOUTUBE-ID
Shortcodes
The Shortcodes mainly are selfexplained. You will find some infos & tips for some shortcodes below.
You can access the Shortcodes via the shortcode button.

Attention: If the popup window don't show the Shortcodes options, you need to adapt the file permissions via ftp. Please make sure that all theme files has 777 permissions.
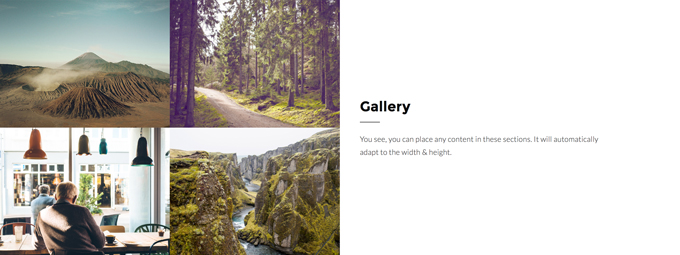
Gallery / Slider
When using the Gallery / Slider Shortcode you will have somthing similar like this.
[sr_gallery type="gallery" lightbox="no" columns="3" fullwidth="yes" crop="yes"]
[sr_gitem id="4"][sr_gitem id="5"][sr_gitem id="6"][/sr_gallery]
So for each image you added you have [sr_gitem id="4"].
To add another image you can just add the shortcode with the id from the image you want to add.
Example:
[sr_gallery type="gallery" lightbox="no" columns="3" fullwidth="yes" crop="yes"]
[sr_gitem id="4"][sr_gitem id="5"][sr_gitem id="6"][sr_gitem id="NEW-IMAGE-ID"][/sr_gallery]
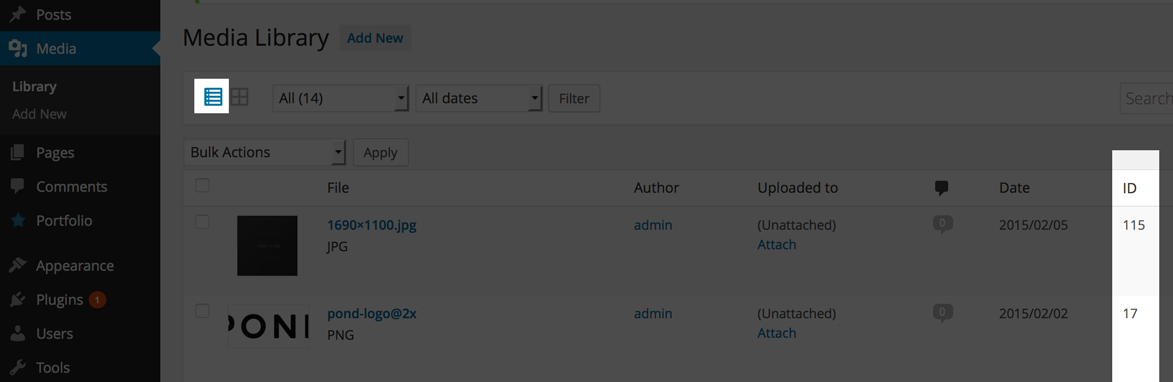
To find your image id got to Media > Library and display your images in list mode. Then you will see the id of all images.
Contact Form
Enter the Recepient Email, Subject and Submit Button. Add now the fields you want to enable in the
contact form.
Make sure that you add at least 3 fields for Name, Email and Message.
The slugnames of these fields MUST BE name, email and message. This very important. Fieldname/Label
can be any custom name.
For further fields you can use own labels and slugnames. Just keep in mind to use only lowercase and
letters for the slugnames.
Spacer / Margin
I recommend to use this shortcode.
This is a usefull element to add some additional spacing/margin betwenn different elements.
Note: You can also add a spacer via the pagebuilder.
Wrapper small
By default your content is wrapped/limitted to the width of 1080px (changing depedning screen size). The wrapper-small will limit your content to 780px.
Retina Display
This theme is retina ready which means that all icons the theme uses are optimized for retina displays.
To enable this option for your uploaded images I recommend to use a plugin.
There are several plugins for this, but I tested this plugin which works fine: WP Retina 2x
To install the plugin go to Plugins > Add New and enter the keyword "retina". Search for WP Retina 2x and click Install Now. After you've installed the plugin activate it.
You can now generate your retina images and set up the plugins options.
- Plugins Seetings: Settings > WP Retina 2x
- Generate Images: Media > WP Retina 2x
I also recommend to choose the Server side option for the Method in the advanced settings.
Leave all thumbnail sizes unchecked. So the plugin tries to genrate the retina sizes for all custom thumbnails.
Here's a tutorial of the plugin. Totoro Times
FAQ of the plugin. WP Retina 2x faq
Logo: Your logo needs to be uploaded in normal size and in retina size! Add the @2x to your image name.
Example: your normal logo is called logo.png. Call your retina logo logo@2x.png and upload it.
It's very important that you upload both logos at the same time/day
Note: Just be sure to upload large enough images when you set up your site using the theme
Ressources
- latest jquery version: jQuery from John Resig
http://jquery.com/ - jquery.isotope.min.js: Isotope from David DeSandro
http://isotope.metafizzy.co/ - jquery.easing.1.3.js: Easing from George Smith
http://gsgd.co.uk/sandbox/jquery.easIng.php - jquery.jplayer.min.js: jPlayer from Happyworm Ltd
http://www.jplayer.org/ - jquery.fitvids.min.js: Video Fits
http://fitvidsjs.com/ - jquery.visible.min.js: Check the visibility
https://github.com/teamdf/jquery-visible/ - retina.js: Check retina graphics
http://imulus.github.io/retinajs/ - jquery.pace.js: Pageloader
http://github.hubspot.com/pace/docs/welcome/ - jquery.owl.carousel.min.js: Slider + Carousel
http://owlgraphic.com/owlcarousel/ - jquery.owl.carousel.min.js: Slider + Carousel
http://owlgraphic.com/owlcarousel/
All other scripts are done by SpabRice and are only allowed to use within this theme.
Frequently asked question
The images have the wrong sizes.
Please take a look above at point Featured Images. You probably need to regenerate the thumbnails.
The portfolio items are not shown.
Set a featured image for your portfolio items.
When I try to combine a video Background with a slider, the video is not shown.
Make sure that your slider is transparent (transparent slides & settings).
Import the slider-demo-three to have a look.
When i click on a portfolio item the message "No posts has been found" appears.
Resave the permalinks settings.
THEME OPTIONS - Some of the Theme Options do not apply on my site (typography, colors, backgrounds, ...).
Please check if you entered the right value? If yes please control your file permissions. Change theme files and folders to 777 or set the theme option method to HTML.
SHORTCODES - When I open the shortcodes my own site apears in the popup window.
Control your file permissions. Change theme files and folders to 777.
PAGEBUILDER - When clicking on "Edit Content" nothing happens. I can't edit the content of any pagebuilder element.
Click on "Deactivate Pagebuilder" (you should see the default wordpress editor). The "Text" tab of the editor probably is selected, isn't it? Click on the "Visual" Tab of the editor. Activate the Pagebuilder again and update your page.
When editing content you can of course edit them on the "Text" tab, but before you exit the editing you need to make sure to reselect the "Visual" tab, otherwhise it will lead to this bug.
PAGEBUILDER - Using the revisions doesn't work for the pagebuilder.
Yes, wordpress doesn't do a restore for all the meta fields (page title, header settings, etc.) which includes the pagebuilder. This means that only the main editor will be restored and the pagebuilder stays like it was. Unfortunately this is a wordpress feature and can not be changed from the theme.
So I recommend not to use the revision tool if you use the pagebuilder.
My "Back to Works" button doesn't work.
Makes ure you selected the right page in Theme Options > Portfolio > Portfolio Page.
How to update the theme?
There are 2 ways to update the theme:
WordPress: Deactivate the current theme by activating any other theme. Once the theme is not active you can delete this theme. After deleting it install the new updated theme and activate it. Don't worry you won't loose your settings,options,content, ...
FTP: Delete the current theme folder 'pond' in wp-content/themes/ and upload the new one.
CHILD THEME - After installing the Child Theme my site doesn't work as it did before. There is no menu showing, etc. What happend?
When you install the child theme you need to reselect the Menu Location. Go to Appearance > Menus scroll down and select the Primary Menu Location.